Hello Everyone!
How are you all doing? Busy with life, but still passionate and positive I hope? :]
Although it doesn't seem like it through my blog, I've been very busy in the art world, and it's great!
I'm so in love with making art postcards, and since my latest post, playing with new media!
I've found I love working with anything from sharpie to white-out, to watercolor pencils to copic color pens, gelly pens and even highlighters! Depending on the mood of the picture, what it's portraying and what should be colored draws me to the certain media I use for each picture.
On that note, let's get started with this step-by-step post!
Step 1: Start with, well, your supplies!
 In this case, to start with anyway, a blank postcard canvas, pencil and eraser is all that's needed. (for now)
Step 2: Let's Sketch!
 I already had an idea of a wolf filling up half the space of the postcard, coming toward the viewer.
However, I ran into problems with the pose. So I worked it, and re-worked it, and worked it again. And finally realized, it was the legs throwing me off, and preferred the pose on the right.
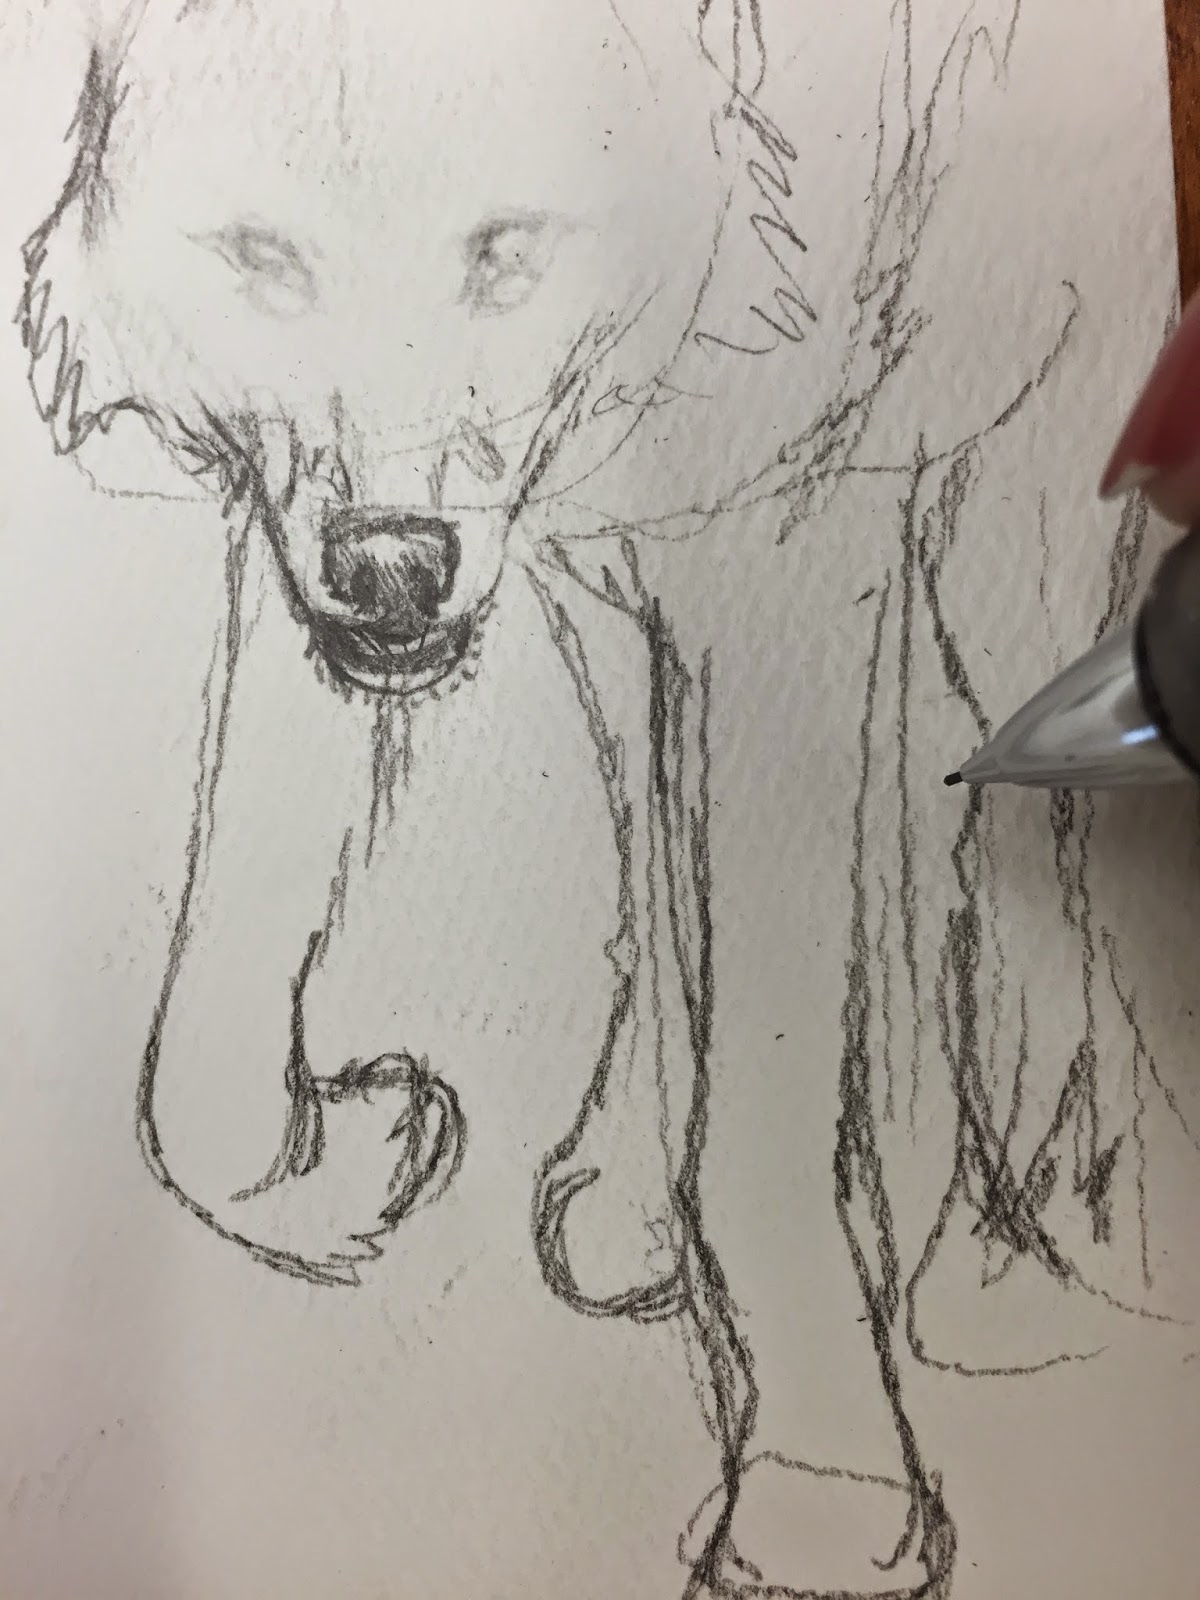


With the legs in this pose, I realized it had more of a realistic look to it.

 And, as you can tell from the picture above, I had a hard time with the eye placement. Once I figured it out, I made sure I filled it in!
Now, what's a smokey wolf without any smoke? Let's add details, yay!

The sketch form is now finished and it's time for the next step!
Step 3: Ink, Ink, Ink! My favorite
 It must be artist habit, but I usually start with the center of the picture, or center of the face of the subject. In this case, the nose and mouth!
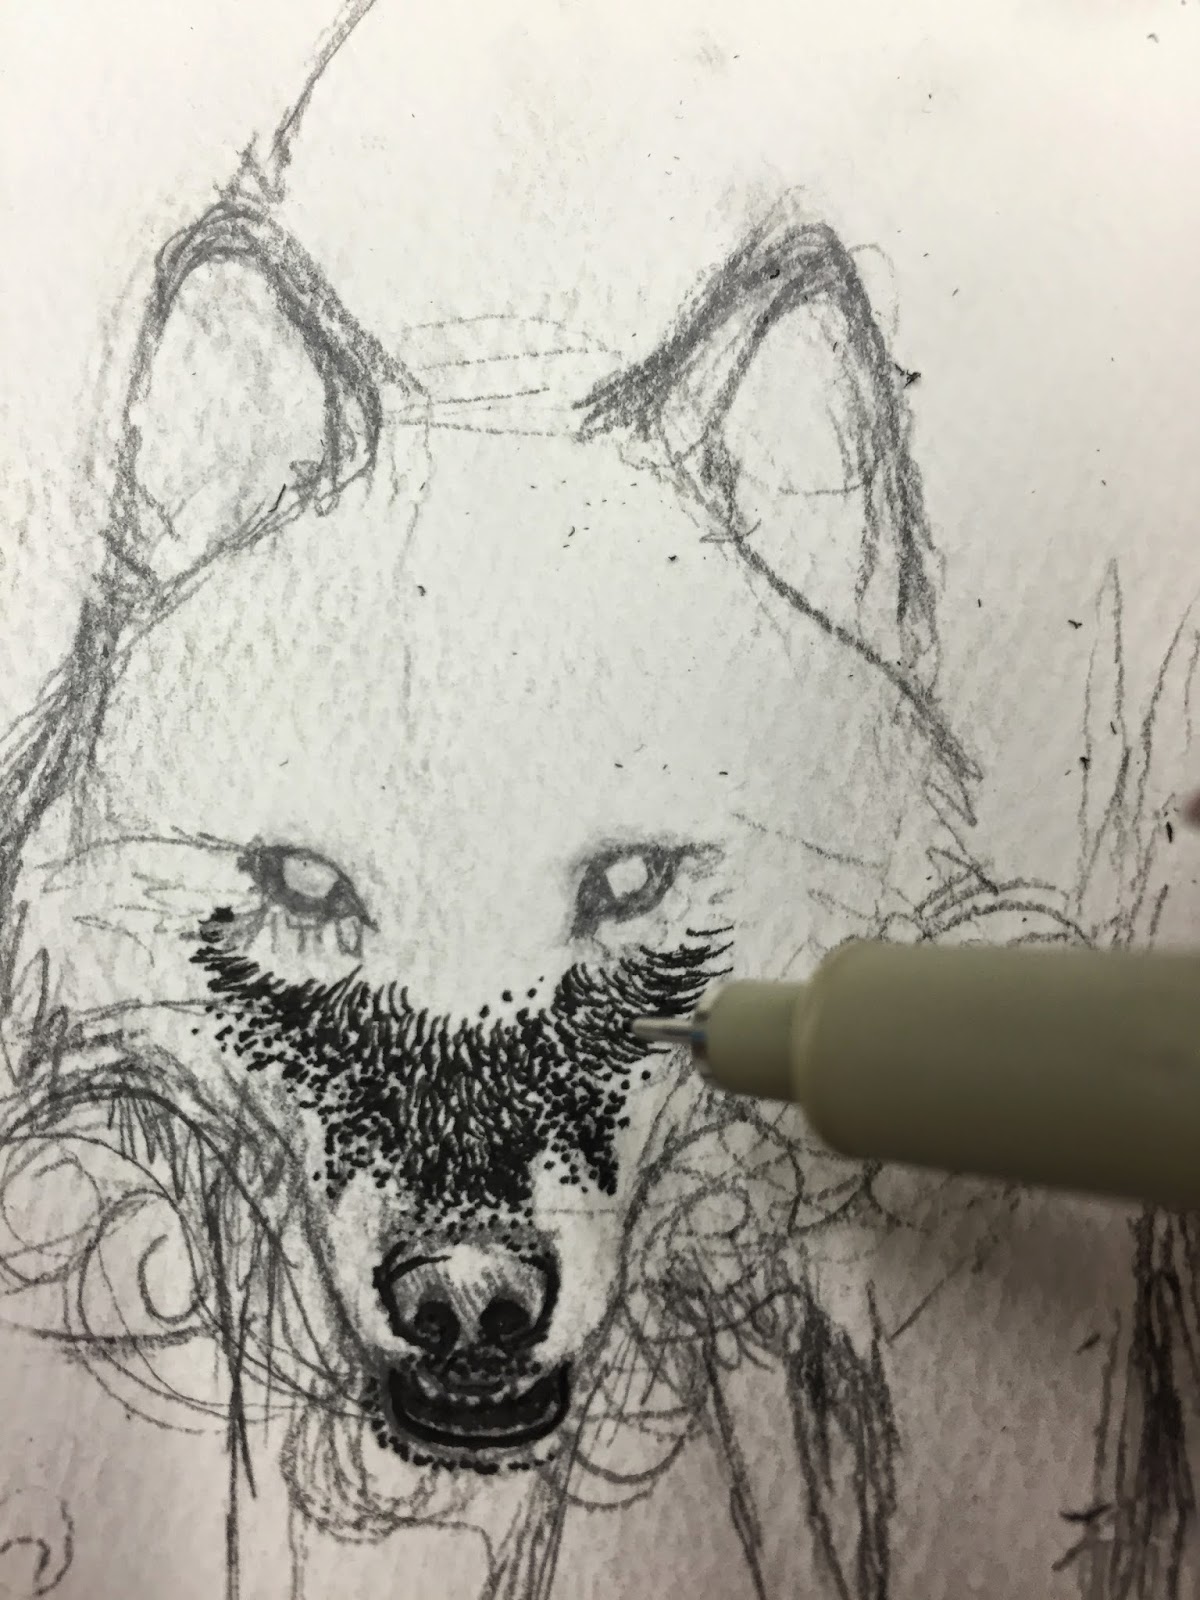
It doesn't take me long before I want to draw some fur. And well, soon after the nose is finished, I started working upward!


I've noticed, with the faces I have drawn so far, that the fur circles around the eyes, right eye clock-wise and left eye counter clock-wise.


Now the upper body is complete! You can see that I started to move onto the right leg already.. lets do some more!
 I will admit here though that although there is fur on the foot and leg, it's very hard to illustrate with dark lines and a black pen because the fur is so fine and detailed!
 So the best way around that is to make his foot black fur colored! :]

....the inking is done! Notice how I left the light colored parts of fur intentionally blank for a feeling of fur depth, lighting and fur shades.
It's on to the next step!
Step 4: A Quick Lining of Grey

 Around the mouth....
...and also around the feet!
Step 5: Shading and Coloring!
 To start with, let's gather some supplies.
Here I have Prisma Color French Grey 30%, Cool Grey 30% , Faber-Castell watercolor pencils (not shown oops!) and the watercolor brushes I always use. (I really should use a different array of sizes more often haha)

 Like this! Ta-da~! Now all of the smoke has a little more depth and broadness to it.
Now to add some liquid smoke! Here I'm using a black Faber-Castell watercolor pencil to add some shade and smoothness to it. Very lightly mind you, because the black water color pencil is rich and intense!! This stuff is deadly.

Let's add some water.. and yes! That's it! Since I can put the pencil color wherever I please, I can water it as I go.
To the feet... and the mouth!


With more and more shading layers, the smoke can carry a darker and richer shade where it applies.
And now, the picture is complete! All we need now are some final details.. :]
Step 6: Details and Glitter

Surprisingly enough, gelly roll pens are PERFECT for adding details to a dark background or adding white outlines to a dark subject. I sadly haven't found or had the time to look for a white gelly pen at the stores yet, but I do have a glittery one. ;] Perfect to help the wolf stand out from his own smoke!


A little more top detail close up...
Step 7: Set Up Your Supplies Around the Art, Take a Picture, and Post to Instagram! Ha!

The original post on Instagram can be seen here!
Thank you all so much for keeping up with me, even in my absence. It really does mean the world!
I hope you enjoyed this post and the art in it!
Here's to another art post coming to you soon. :]
No comments:
Post a Comment